You’ve taken the plunge and chosen your stove.
Excited at the prospect of cosier nights under canvas now is the time to get set up.
It's a good idea to do this before you go camping. Make sure you’ve got plenty of time and it’s a dry day so you’re not rushing.
There’s comprehensive instructions on our website so follow these and you’ll be up and running in no time.
We've put together below a few top tips on stove fitting from the Life team that are sometimes missed in the instructions, especially if keen campers skim read!!!
Before you head off invest in a good quality fire extinguisher and carbon monoxide alarm. Hopefully neither will ever be needed but it's always best to be safe.
Stock yourselves up with some dry wood. It's always handy to take a bag with you just in case you arrive late and the camp site don't sell it. We recommend Certainly Wood for their Kiln Dried Kindling and Eco Firelighters too.
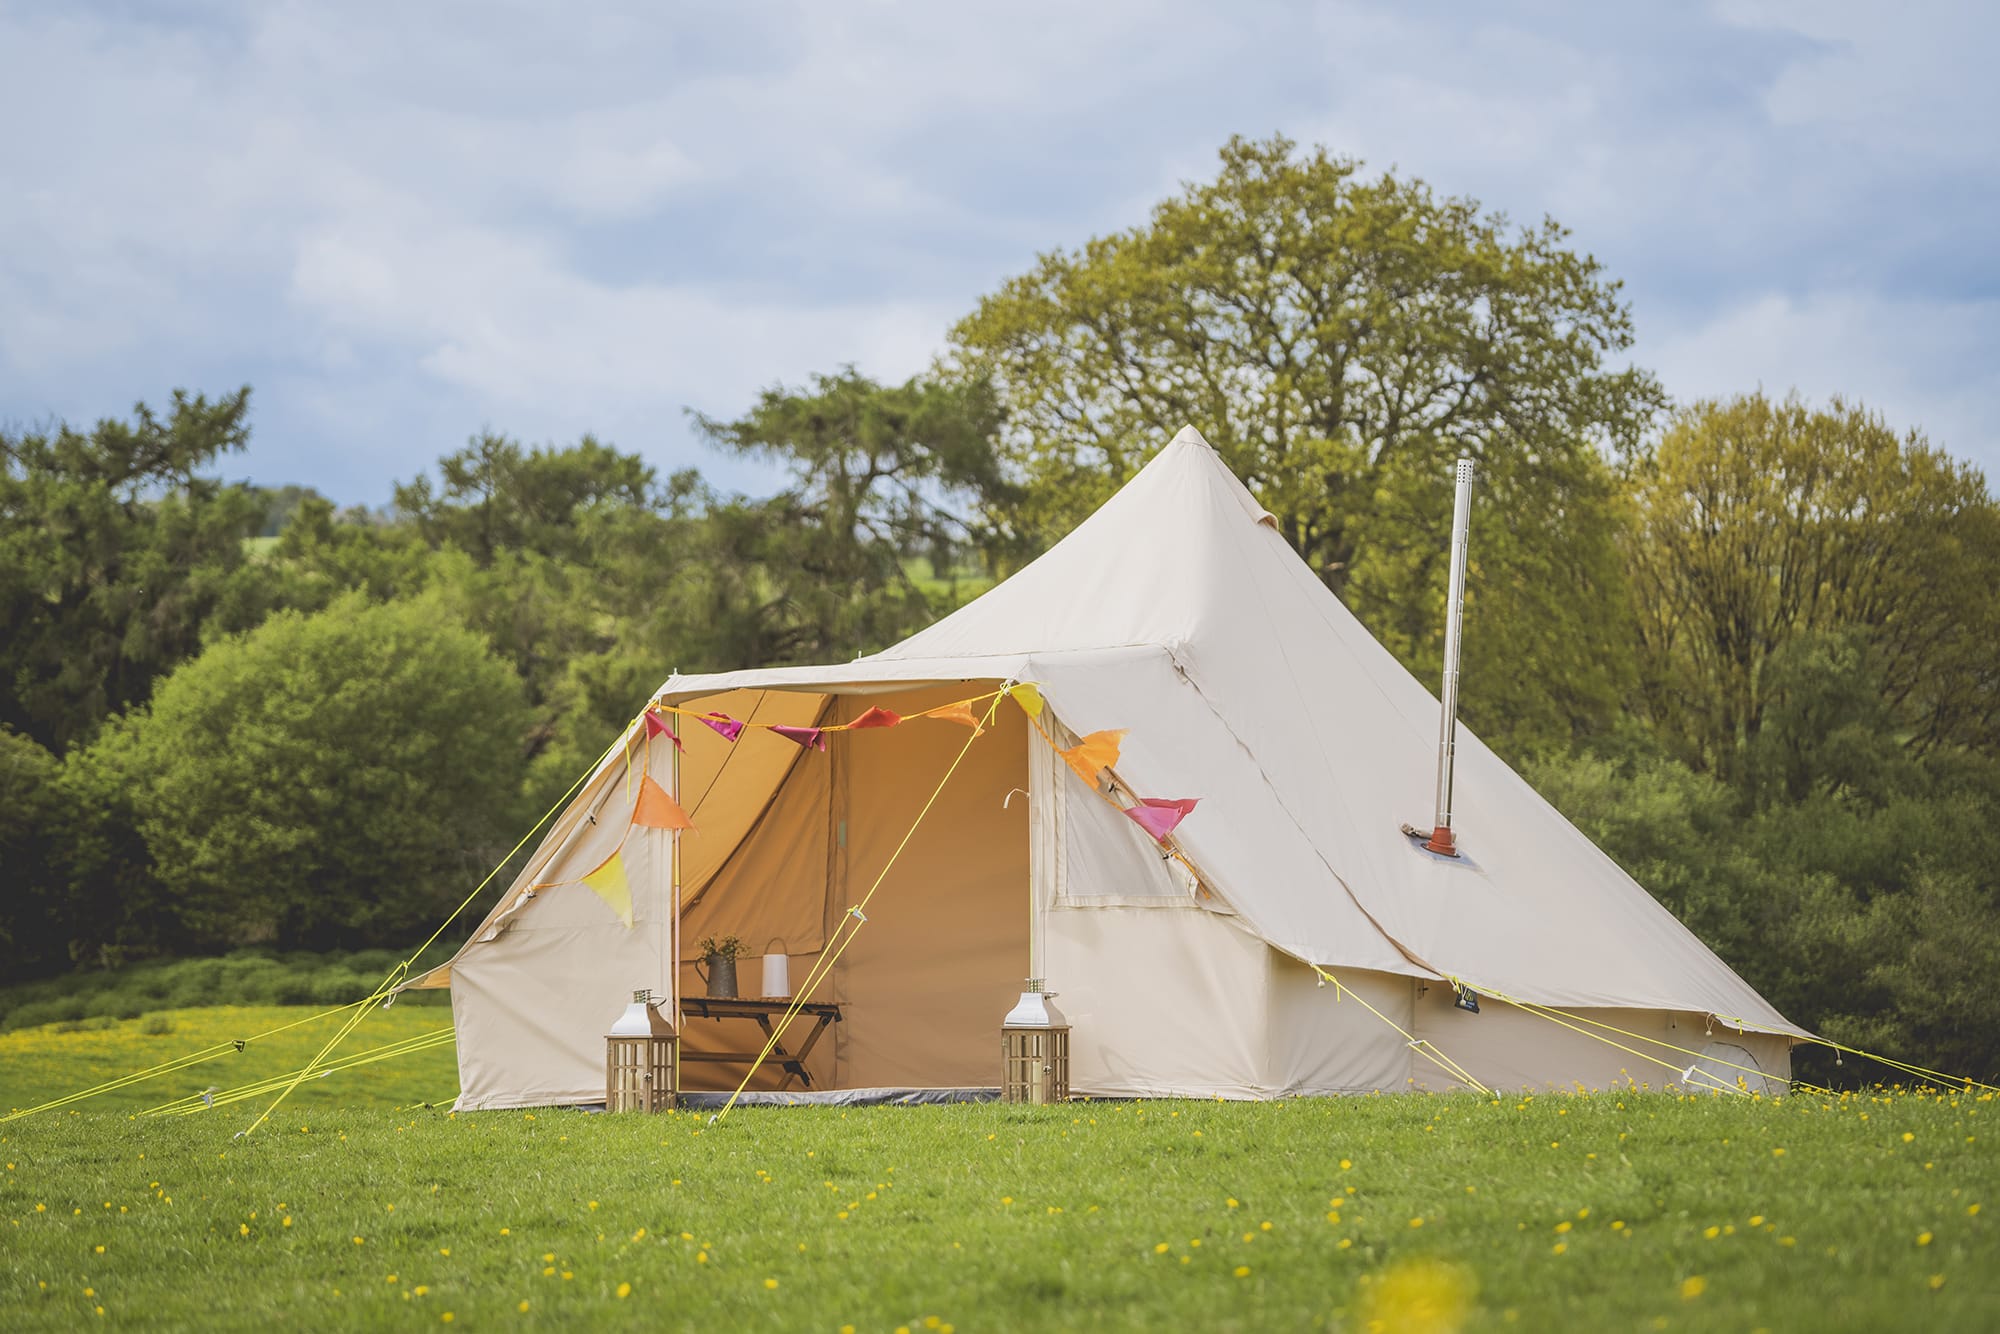
We suggest installing the flashing kit when the tent is down. This is purely because we are a small team, literally, and can’t reach the stove hole properly on the outside when the tent is up. If you can and you’d rather install with the tent up that’s fine too!
We recommend pushing the silicone through the stove hole from the inside and attaching the second ring on the outside. This means any excess canvas will protrude outside the tent not inside close to the hot flue pipe.
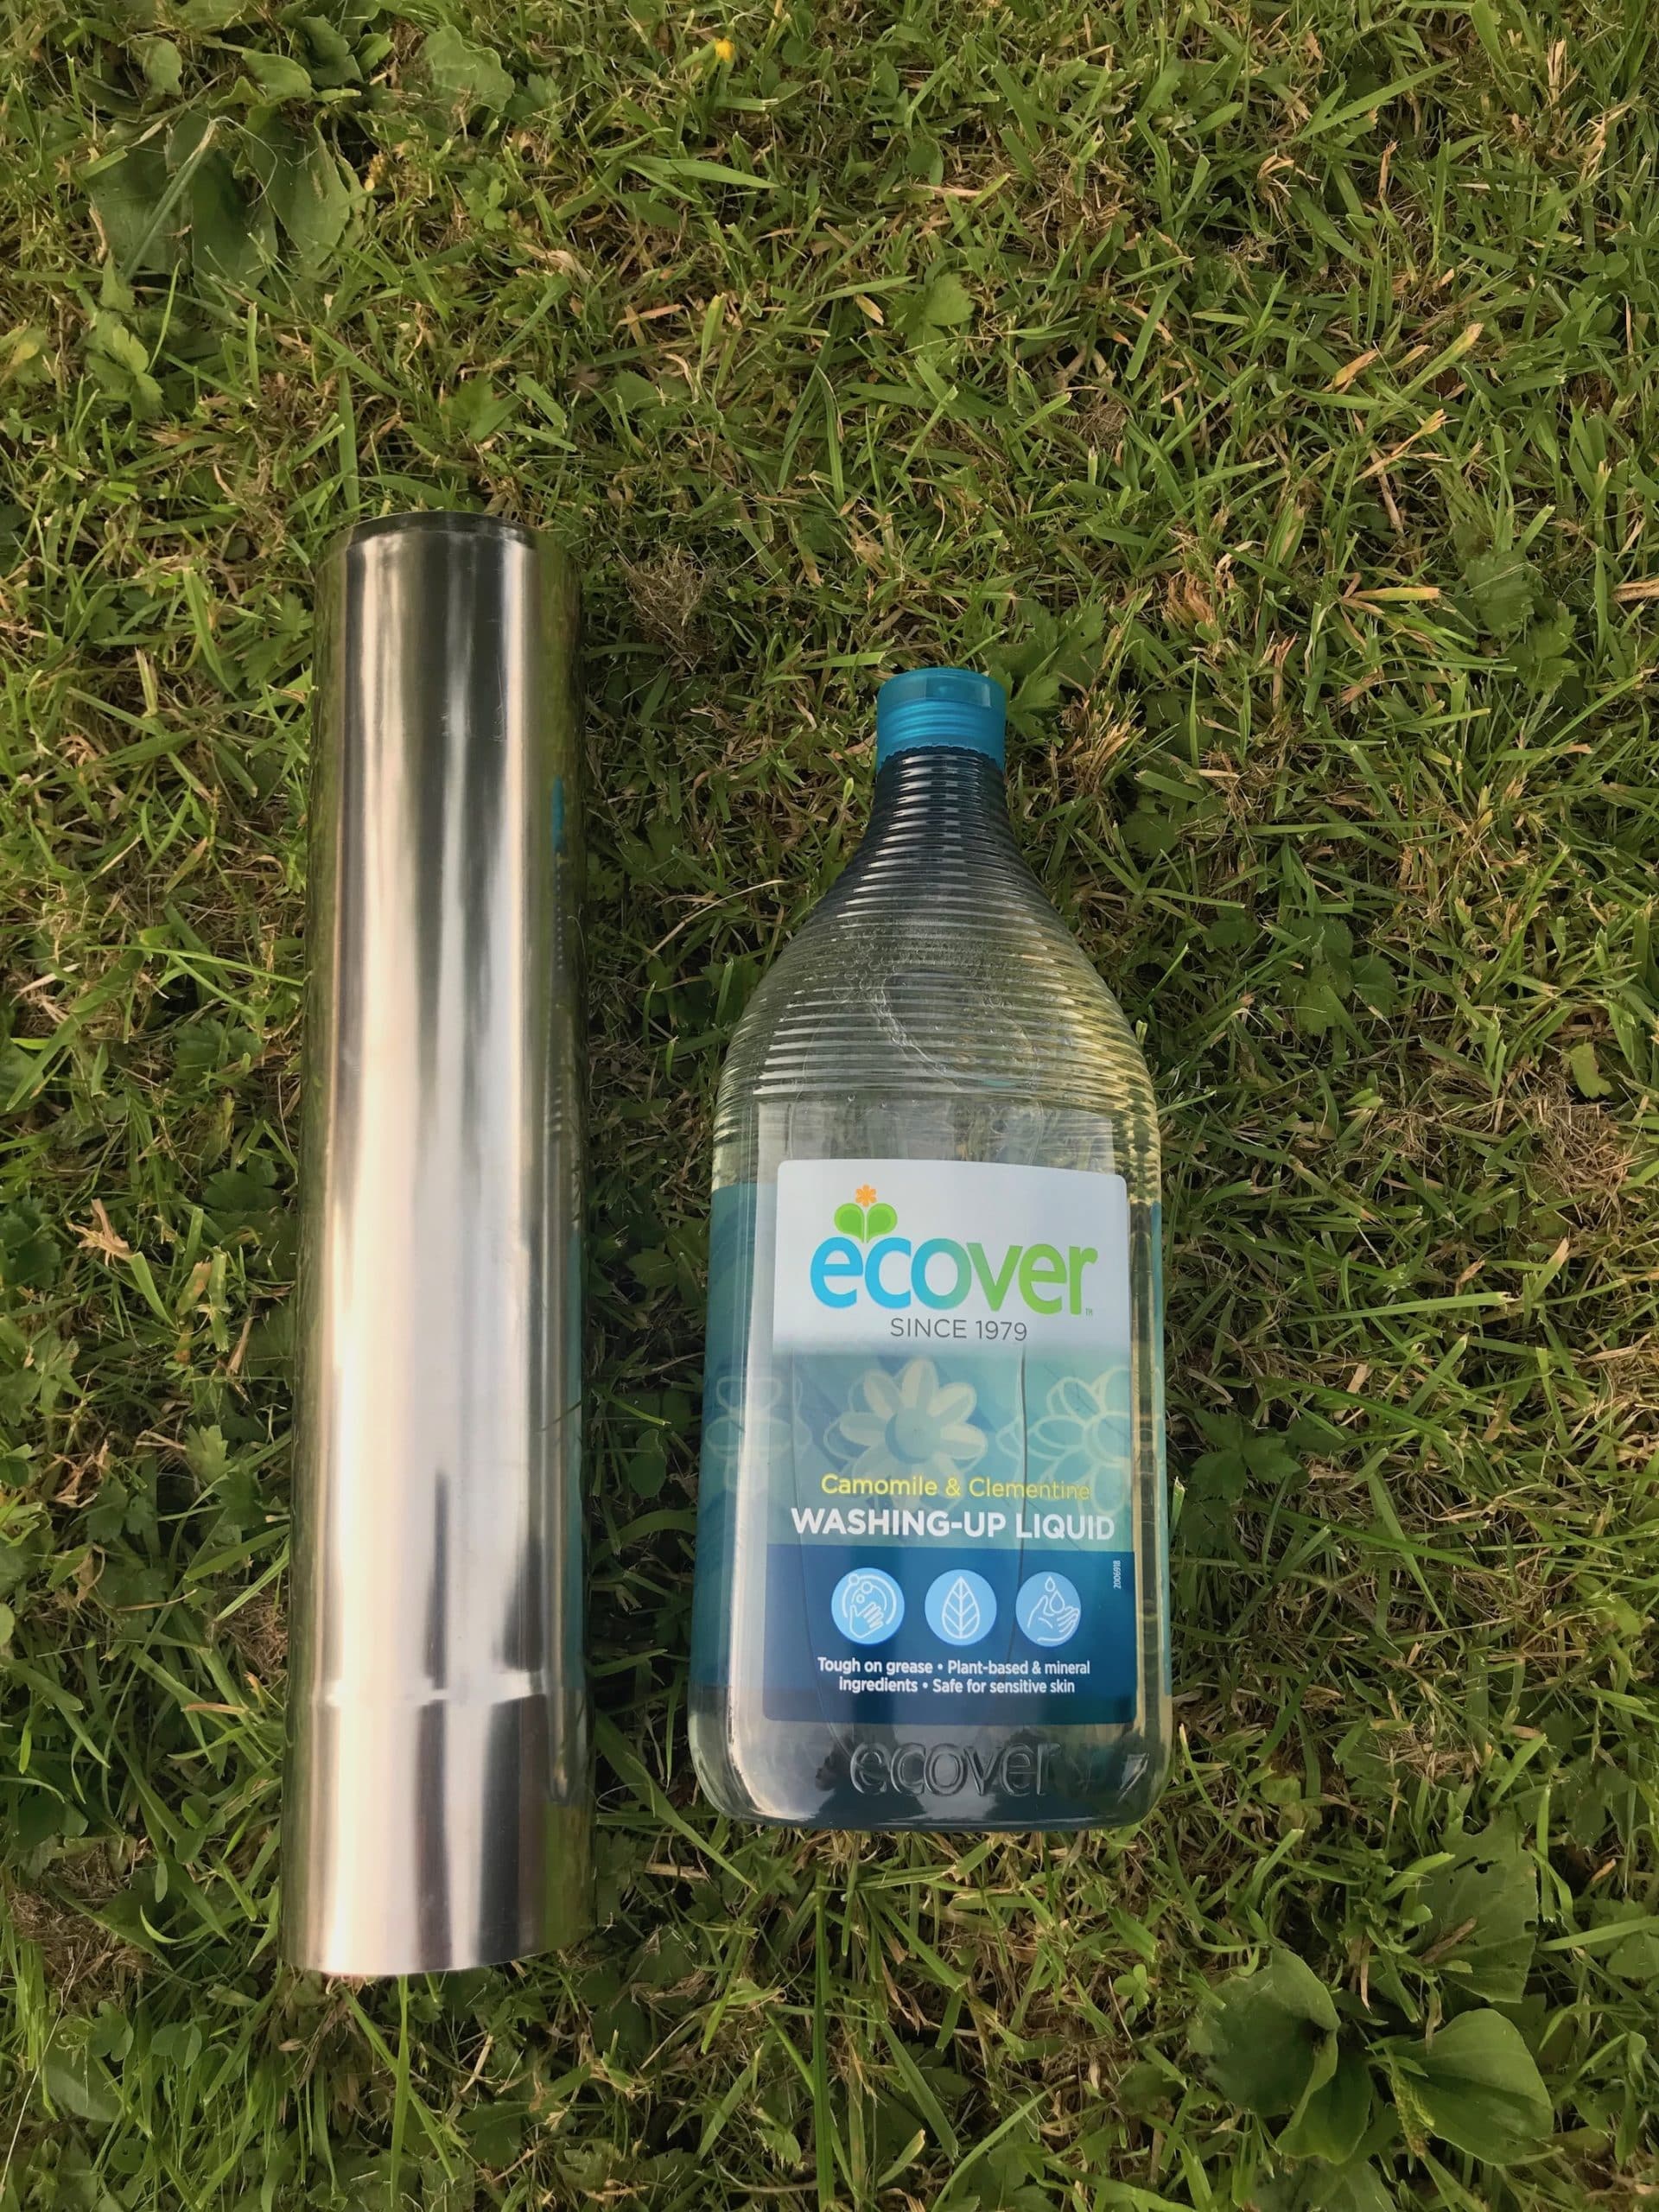
And, use washing up liquid to help ease the flue through the flashing kit to avoid splitting it.
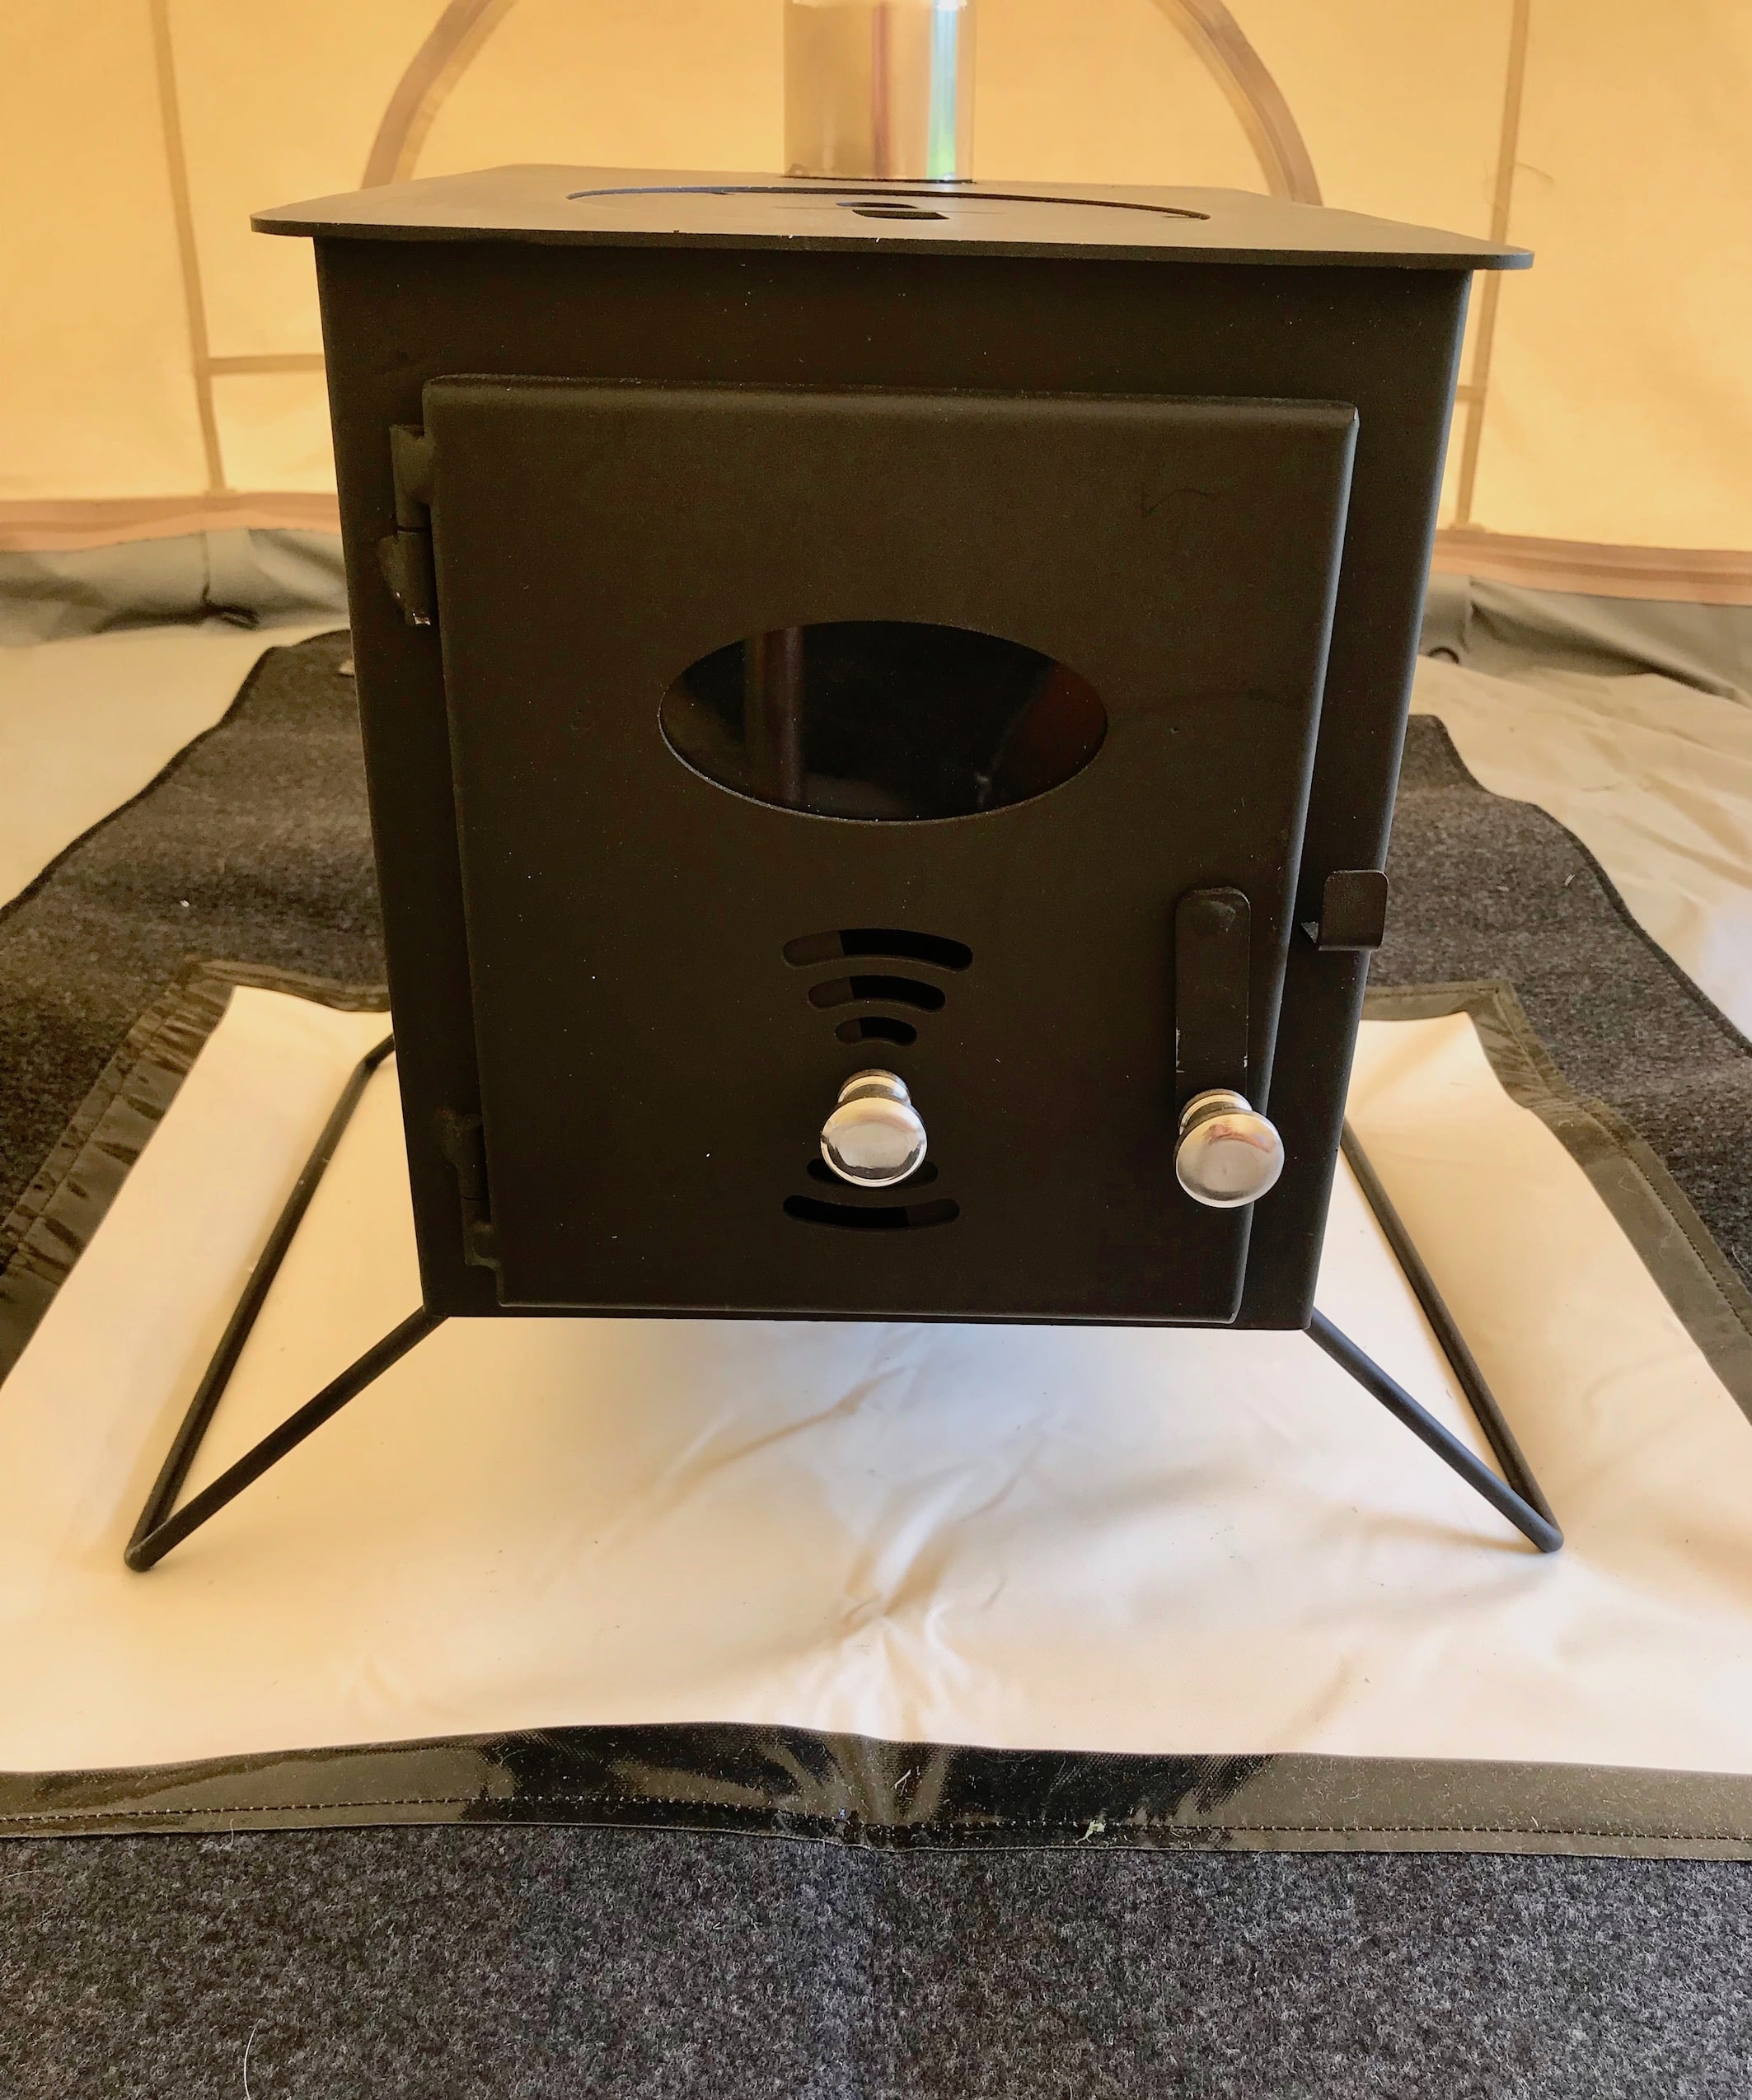
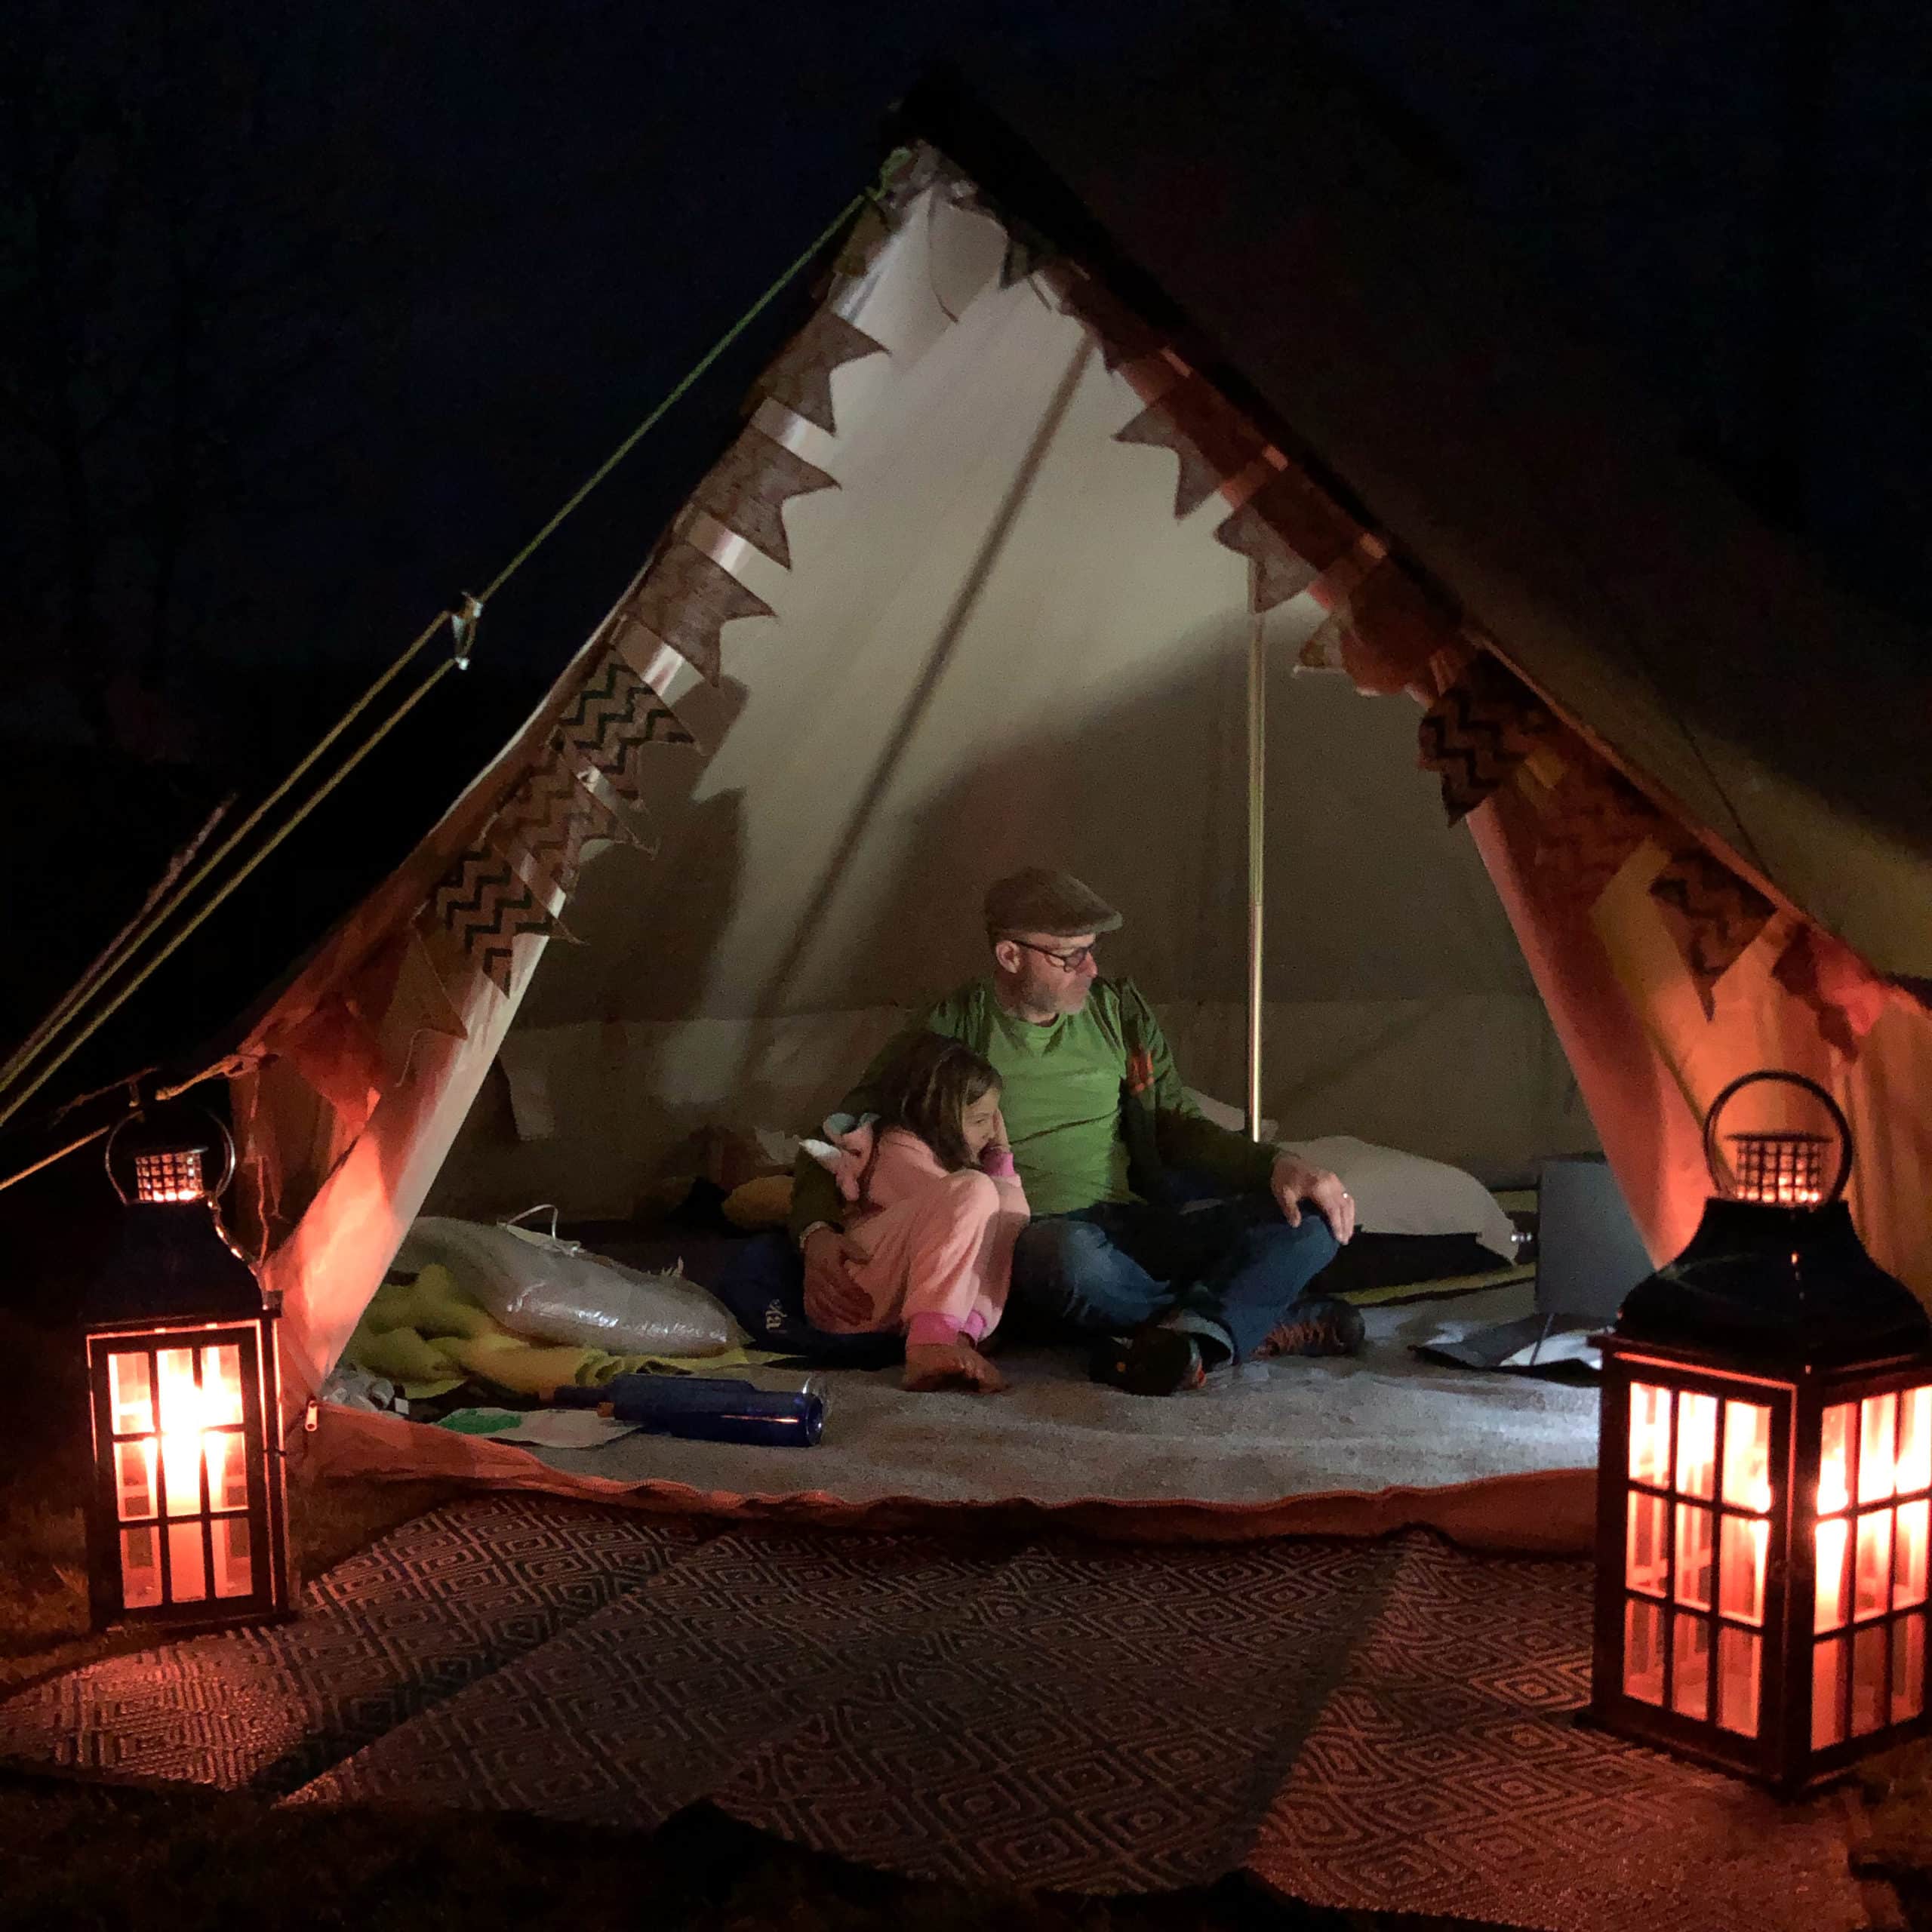
Always stand your stove on a heat proof mat. You’d be pretty disappointed if a spark flew out of an open door and burnt a hole in your groundsheet. Or if the stove got so hot it burnt the groundsheet underneath it. It’s unlikely but better to be safe than sorry!!
Be sure to light a small fire in your stove the first couple of times. This is for 2 reasons. One it will cure the paint and burn off any fumes. And two it will allow the flashing kit to gently expand around the flue without cracking.
The flashing kit is safe and heat resistant to 300°C. It can be difficult to gauge the temperature of your stove when it's in use so we always recommend using a stove thermometer to ensure your fire doesn't reach this temperature or even higher. Tempting as it may be to chuck another log on you do need to be careful with the heat levels.
And finally always make sure that your stove and flue are completely cold before packing away.
Remove any excess ash from the stove body and tray, we always take a dustpan and brush with us when we head off on a trip. Then gently twist apart the flue pieces to dismantle. When removing the final piece of flue from the flashing kit it's always a good idea to use a blunt instrument to release the silicone from the flue pipe before easing out gently.
The flue piece pack perfectly inside and the handy storage bag means the stove can be neatly packed away until you need it again!